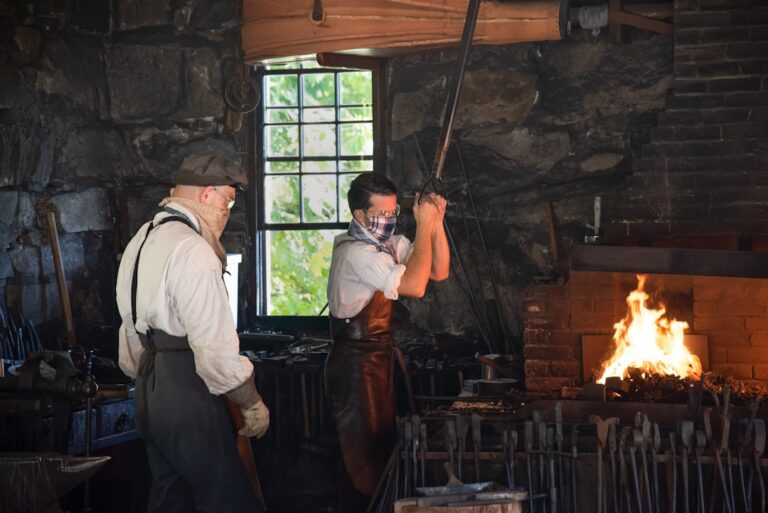
Blacksmithing is an ancient craft that has evolved over centuries, yet its core principles remain unchanged. At its heart, blacksmithing involves heating metal until it becomes malleable and then shaping it into various forms using tools and techniques that have been passed down through generations. I find it fascinating how this age-old practice combines artistry with practicality, allowing me to create functional items as well as decorative pieces. The allure of blacksmithing lies not only in the physical act of forging metal but also in the deep connection to history and tradition that it fosters.
As I delve deeper into the world of blacksmithing, I realize that understanding the properties of different metals is crucial. Each type of metal reacts differently to heat and pressure, which influences how I approach my projects. For instance, wrought iron is known for its ductility and strength, making it ideal for intricate designs, while steel offers a balance of hardness and flexibility. By familiarizing myself with these materials, I can make informed decisions about which metals to use for specific applications, enhancing both the quality and durability of my creations.
If you’re interested in learning blacksmithing at home, a great resource to complement your journey is the article on crafting with wrought iron, which delves into essential blacksmithing techniques. This article provides valuable insights into the properties of wrought iron and how to effectively work with it, making it an excellent follow-up to your initial studies. You can read more about these techniques and enhance your skills by visiting Crafting with Wrought Iron: Blacksmithing Techniques.
Key Takeaways
- Blacksmithing requires understanding fundamental techniques and proper workspace setup.
- Selecting appropriate tools and materials is crucial for successful projects.
- Safety measures must be prioritized to prevent accidents during forging.
- Utilizing instructional resources helps beginners learn and improve skills effectively.
- Setting clear goals and tracking progress enhances learning and craftsmanship development.
Setting Up Your Home Blacksmithing Workspace
Creating a dedicated workspace for blacksmithing is essential for both safety and efficiency. I began by selecting a suitable location in my home, ideally a well-ventilated area that can accommodate the heat and smoke generated during the forging process.
A garage or a backyard shed works well, but I made sure to check local regulations regarding outdoor fires and noise levels.
Once I had my space, I focused on organizing it in a way that promotes workflow and minimizes clutter. Having everything within reach allows me to concentrate on my craft without unnecessary distractions.
In addition to choosing the right location, I invested in proper flooring to withstand the rigors of blacksmithing. Concrete is an excellent choice, as it can handle the heat and weight of heavy equipment. I also made sure to have a sturdy workbench where I can perform detailed tasks like grinding and polishing. Lighting is another critical aspect; I installed bright overhead lights to illuminate my workspace effectively. With everything in place, I feel more prepared to tackle various projects and hone my skills as a blacksmith.
Selecting the Right Tools and Equipment
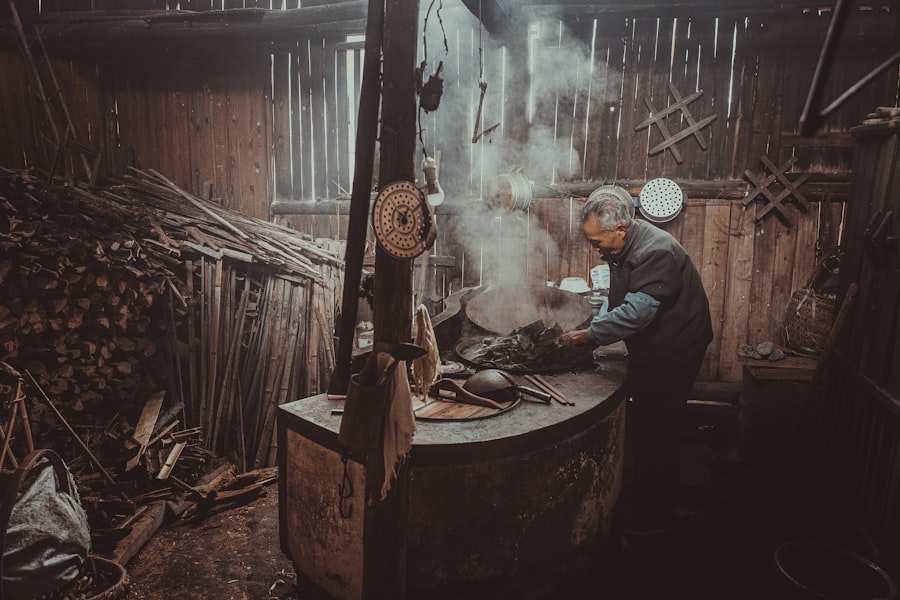
The tools I choose for blacksmithing play a significant role in determining the quality of my work. As a beginner, I started with the essentials: a forge, an anvil, tongs, and hammers. The forge is where the magic begins; it heats the metal to a temperature where it can be shaped. I opted for a propane forge for its convenience and ease of use, especially since I’m working from home. The anvil serves as my primary shaping surface, and I quickly learned that investing in a good-quality anvil pays off in terms of durability and performance.
Tongs are another critical tool in my arsenal. They allow me to grip hot metal safely without burning my hands. I experimented with different types of tongs to find those that best suit my style and the projects I’m working on. Hammers come in various shapes and sizes, each designed for specific tasks. I started with a basic cross-peen hammer, which is versatile enough for most beginner projects. As I gain more experience, I plan to expand my collection to include specialized hammers for more intricate work.
Learning Basic Blacksmithing Techniques
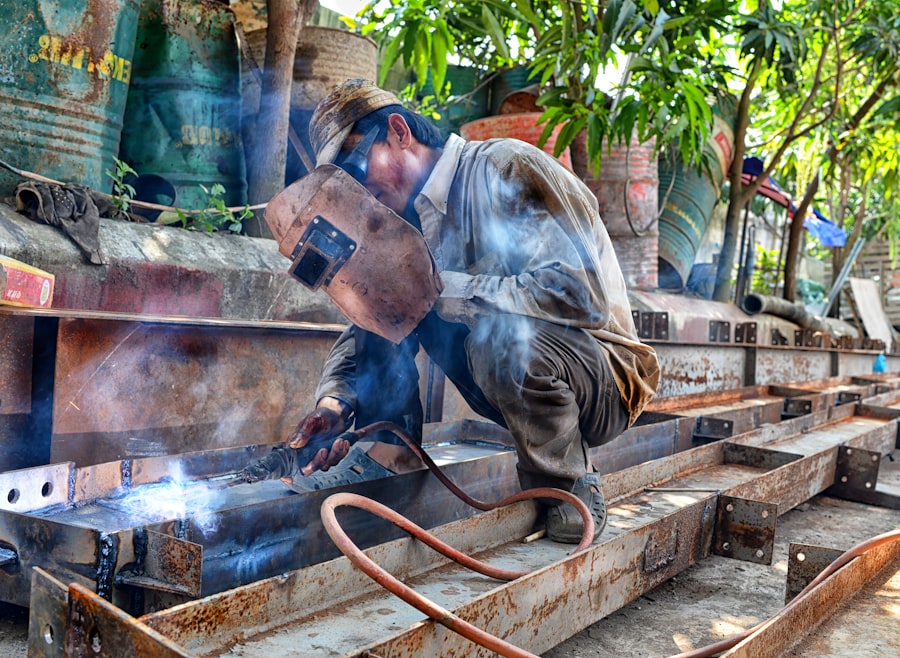
As I embark on my blacksmithing journey, mastering basic techniques is essential for building a solid foundation. One of the first skills I focused on was drawing out metal, which involves elongating it by hammering it while it’s hot. This technique is fundamental for creating items like hooks or handles. I practiced this skill repeatedly, learning how to control the heat and pressure applied to the metal to achieve the desired shape.
Another crucial technique is upsetting, which involves thickening a section of metal by hammering it down on itself. This skill is particularly useful when creating rivets or adding decorative elements to my projects. As I practiced these techniques, I discovered that patience and precision are key. Each strike of the hammer requires careful consideration of angle and force, which ultimately affects the final outcome of my work. With time and practice, I began to see improvement in my abilities, boosting my confidence as a budding blacksmith.
If you’re interested in honing your skills in blacksmithing at home, you might find it beneficial to explore various techniques that can enhance your craft. A related article that delves into this topic is about mastering medieval blacksmithing techniques, which can provide valuable insights into traditional methods and practices. You can read more about it here. This resource can serve as a great complement to your learning journey, helping you to focus on the foundational aspects of blacksmithing while also expanding your knowledge of historical practices.
Safety Precautions and Best Practices
Safety is paramount in blacksmithing, given the inherent risks associated with working with high temperatures and heavy tools. Before starting any project, I make it a point to wear appropriate personal protective equipment (PPE). This includes safety glasses to protect my eyes from flying sparks, gloves to shield my hands from heat, and sturdy boots to protect my feet from falling objects. Additionally, I always keep a fire extinguisher nearby as a precautionary measure against accidental fires.
I also learned the importance of maintaining a clean workspace. Clutter can lead to accidents, so I make it a habit to tidy up after each session. Proper ventilation is another critical aspect of safety; I ensure that my workspace is well-ventilated to avoid inhaling harmful fumes produced during forging. By adhering to these safety precautions and best practices, I can focus on honing my skills while minimizing risks.
Choosing the Right Materials for Blacksmithing Projects
Selecting the right materials for my blacksmithing projects has been an enlightening experience. Initially, I gravitated towards mild steel due to its availability and ease of use for beginners. Mild steel is forgiving; it can be shaped easily and welded without much hassle.
However, as I gained more experience, I began exploring other materials like high-carbon steel for tools or decorative items that require greater strength and edge retention.
I also discovered that different alloys can yield unique properties in finished products. For instance, stainless steel offers corrosion resistance but can be more challenging to work with due to its higher melting point. As I experiment with various materials, I’m learning how each one behaves under heat and pressure, which informs my choices for future projects. This exploration not only enhances my technical skills but also fuels my creativity as I envision new possibilities for what I can create.
Finding Resources and Instructional Materials for Learning at Home
In my quest to become a proficient blacksmith, I’ve sought out various resources to aid my learning process. Online platforms have proven invaluable; there are countless tutorials available on websites like YouTube that cover everything from basic techniques to advanced projects. Watching experienced blacksmiths at work has provided me with insights that books alone could not convey. Additionally, forums and social media groups dedicated to blacksmithing have connected me with fellow enthusiasts who share tips and advice.
Books remain an essential resource as well; I’ve collected several titles that delve into both the history and technical aspects of blacksmithing. These texts often include detailed illustrations that help clarify complex techniques or processes. I’ve also found local workshops or classes offered by experienced blacksmiths in my area, which provide hands-on experience that complements my self-study efforts. By combining these resources, I’m building a well-rounded understanding of blacksmithing that will serve me well as I continue on this journey.
Setting Goals and Tracking Your Progress in Blacksmithing
Setting goals has been instrumental in keeping me motivated throughout my blacksmithing journey. Initially, I aimed to complete simple projects like hooks or small tools within a specific timeframe. As I gained confidence in my abilities, I began setting more ambitious goals—such as crafting decorative items or even functional tools like knives or axes. By breaking these larger goals into smaller milestones, I’ve been able to track my progress effectively.
I also maintain a journal where I document each project I undertake, noting what worked well and what challenges I faced along the way. This practice not only helps me reflect on my growth but also serves as a valuable reference for future projects. Celebrating small victories along the way keeps me motivated and excited about what lies ahead in my blacksmithing journey. As I continue to set new goals and push myself creatively, I’m eager to see where this craft will take me next.
FAQs
What basic tools are needed to start blacksmithing at home?
To begin blacksmithing at home, essential tools include a forge (such as a propane or coal forge), an anvil, a hammer, tongs, and safety equipment like gloves and eye protection. Additional tools may be added as skills progress.
What safety precautions should beginners take when learning blacksmithing?
Beginners should always wear protective gear, including safety glasses, heat-resistant gloves, and appropriate clothing. Work in a well-ventilated area to avoid inhaling fumes, keep a fire extinguisher nearby, and be cautious when handling hot metal and tools.
Which fundamental skills should beginners focus on first in blacksmithing?
New learners should focus on mastering basic techniques such as heating metal to the correct temperature, hammer control, shaping simple forms like hooks or nails, and understanding how metal behaves when heated and cooled.
How can someone learn blacksmithing at home without formal classes?
Individuals can learn through online tutorials, instructional videos, books, and joining blacksmithing forums or communities. Practicing regularly and starting with simple projects helps build skills gradually.
What types of projects are suitable for beginners in home blacksmithing?
Simple projects like making hooks, nails, bottle openers, or small decorative items are ideal for beginners. These projects help develop fundamental skills without requiring complex techniques or expensive materials.