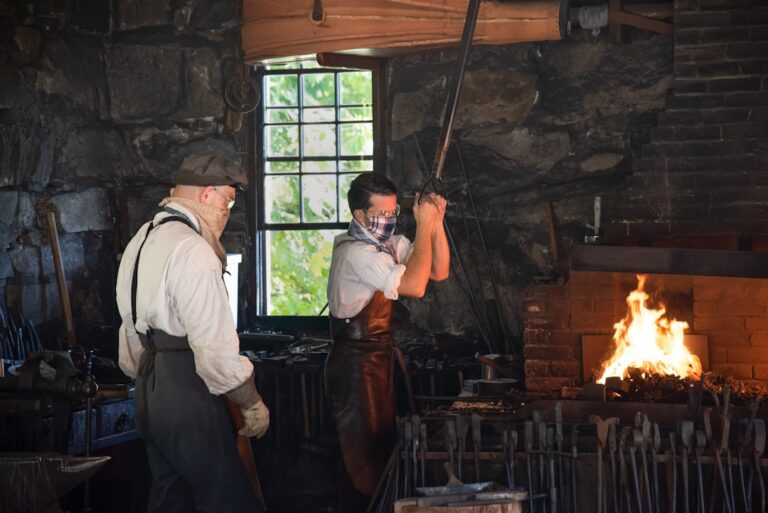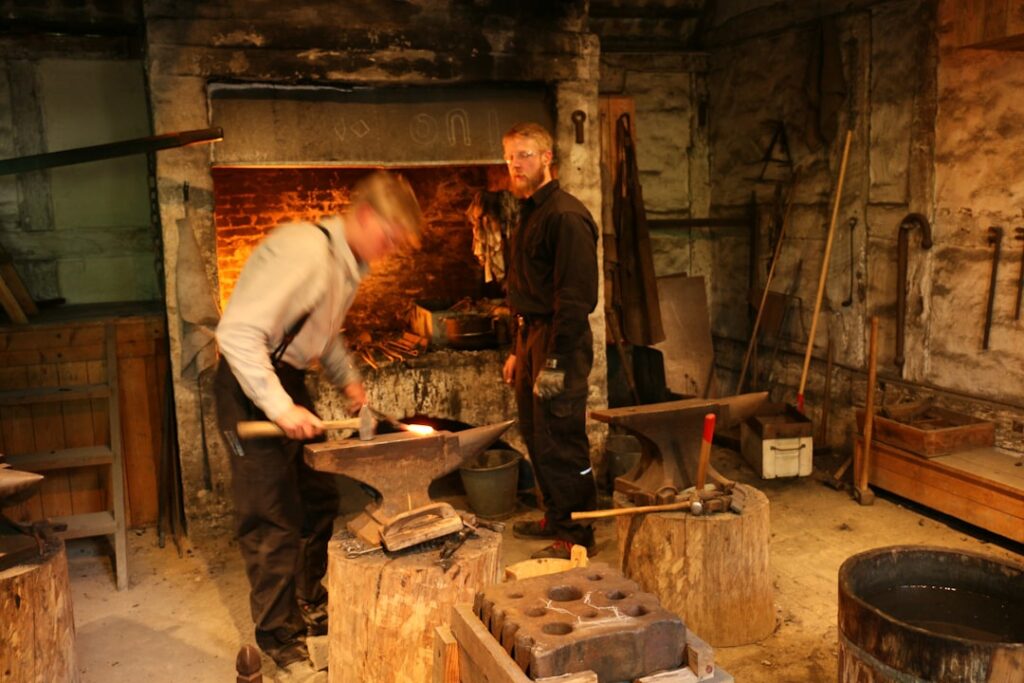
Blacksmithing is an ancient craft that has captivated artisans and hobbyists alike for centuries. As I delve into this age-old practice, I find myself drawn to the rhythmic dance of hammer against anvil, the mesmerizing glow of molten metal, and the satisfaction of creating something tangible from raw materials. The allure of blacksmithing lies not only in the artistry involved but also in the deep connection it fosters between the craftsman and the materials. Each piece forged is a testament to skill, patience, and creativity, making blacksmithing a unique blend of art and science.
In today’s fast-paced world, where technology often overshadows traditional crafts, blacksmithing offers a refreshing escape. It allows me to slow down, focus on the task at hand, and immerse myself in a process that has remained largely unchanged for generations. Whether I am crafting a simple hook or an intricate piece of jewelry, the principles of blacksmithing remain constant. This article will guide you through a structured five-step plan that I have developed to help anyone interested in exploring this fascinating craft. By following these steps, I hope to inspire others to pick up a hammer and experience the joy of blacksmithing for themselves.
If you’re interested in the journey of blacksmithing and want to explore more about getting started in this craft, you might find the article “Forging in the Backyard: A Beginner’s Guide to Blacksmithing” particularly helpful. It provides essential tips and techniques for beginners, making it a great companion to my experience following a 5-step blacksmithing plan. You can read the article here: Forging in the Backyard: A Beginner’s Guide to Blacksmithing.
Key Takeaways
- Blacksmithing involves a structured 5-step process from gathering materials to finishing the product.
- Proper setup of the forge is crucial for effective heating and shaping of metal.
- Heating the metal to the right temperature allows for easier shaping and manipulation.
- Finishing and polishing enhance the durability and appearance of the forged item.
- Reflecting on the process helps improve skills and outcomes in future blacksmithing projects.
The 5-Step Blacksmithing Plan
Embarking on a blacksmithing journey can seem daunting at first, but I have found that breaking it down into manageable steps makes the process much more approachable. My five-step blacksmithing plan is designed to guide beginners through the essential stages of creating their first piece. Each step builds upon the last, ensuring that I not only develop my skills but also gain confidence in my abilities as a blacksmith.
The beauty of this plan lies in its simplicity. It encompasses everything from gathering materials and tools to the final touches that bring a piece to life. By following this structured approach, I have been able to streamline my workflow and minimize mistakes, allowing me to focus on honing my craft. In the following sections, I will delve deeper into each step, sharing insights and tips that I have gathered along the way.
Step 1: Gathering Materials and Tools
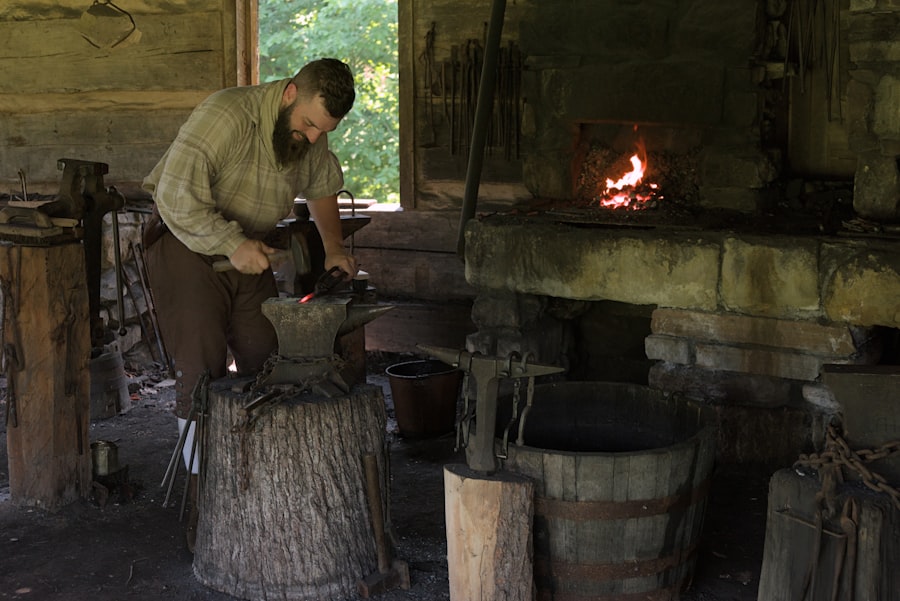
The first step in my blacksmithing journey involves gathering the necessary materials and tools. This stage is crucial because having the right equipment can significantly impact the quality of my work. I start by researching what tools are essential for beginners. A basic blacksmithing toolkit typically includes a hammer, an anvil, tongs, and a forge. Each tool serves a specific purpose, and understanding their functions helps me appreciate their importance in the crafting process.
When it comes to materials, I often choose mild steel for my initial projects due to its malleability and ease of use. I find that sourcing materials can be an adventure in itself; local metal suppliers or scrap yards often have hidden gems waiting to be transformed into beautiful creations. As I gather my tools and materials, I take time to familiarize myself with each item, understanding how they will work together during the forging process.
This preparation not only sets me up for success but also ignites my excitement for what’s to come.
Step 2: Setting Up the Forge
Once I have gathered my materials and tools, the next step is setting up my forge. This is where the magic happens—the forge is the heart of blacksmithing, providing the intense heat needed to transform solid metal into a malleable form. I take great care in choosing a suitable location for my forge, ensuring it is well-ventilated and safe from flammable materials. Safety is paramount in this craft, and I make it a priority to equip myself with protective gear such as gloves, goggles, and an apron.
As I set up my forge, I also consider the type of fuel I will use—coal, propane, or charcoal are common options. Each fuel type has its advantages and disadvantages, but I find that propane offers a cleaner burn and easier temperature control for beginners like myself. Once my forge is ready, I take a moment to appreciate the setup; it’s a space that invites creativity and experimentation. With everything in place, I feel a surge of anticipation as I prepare to move on to the next step.
In my journey through blacksmithing, I came across an insightful article that delves into the intricacies of forging and the artistry involved in the craft. This piece, titled Forging a Strong Future: The Art of the Metal Forge, offers a deeper understanding of the techniques and philosophies that can enhance one’s skills in blacksmithing. The combination of practical advice and historical context truly enriched my experience as I followed my 5-step plan, and I found the results to be quite rewarding.
Step 3: Heating and Shaping the Metal
With my forge lit and ready, it’s time to heat and shape the metal. This step is where the transformation truly begins. I carefully place my piece of mild steel into the forge, watching as it gradually changes color from dull gray to a vibrant orange-red. The sight of glowing metal is exhilarating; it signifies that I am on the brink of creation. Patience is key during this stage; I wait until the metal reaches the right temperature before removing it from the forge.
Once heated, I use my tongs to grasp the metal securely and bring it to my anvil. The first strike of my hammer against the hot steel sends vibrations through my arm—a reminder of the power and precision required in blacksmithing. As I begin shaping the metal, I focus on technique; each blow must be deliberate and controlled. The process is both physically demanding and mentally engaging, requiring me to be fully present in the moment. With each strike, I see my vision come to life as the metal bends and forms into shape.
If you’re intrigued by the journey of blacksmithing and want to deepen your understanding, you might find the article on the fundamentals of blacksmithing particularly insightful.
It covers essential techniques and principles that can enhance your skills and provide a solid foundation for your craft.
You can read more about it in this related article, which complements the experiences shared in “I Followed a 5-Step Blacksmithing Plan—These Were the Results.”
Step 4: Finishing and Polishing
After shaping my piece, it’s time for finishing touches that elevate my work from functional to beautiful. This step involves refining edges, smoothing surfaces, and adding any decorative elements that enhance the overall design. I often use files and grinders for this purpose, taking care to remove any sharp edges while maintaining the integrity of my creation. The finishing process is where attention to detail truly shines; it’s an opportunity for me to express my personal style.
Polishing is another crucial aspect of this step. I find that applying a patina or protective coating not only enhances the aesthetic appeal but also helps preserve my work for years to come. As I buff and shine my piece, I can’t help but feel a sense of pride in what I’ve accomplished. The transformation from raw metal to a polished creation is incredibly rewarding; it’s a reflection of my dedication and hard work throughout the entire process.
Step 5: Reflections and Lessons Learned
As I complete my project, I take time to reflect on the entire blacksmithing experience. Each step has taught me valuable lessons about patience, perseverance, and creativity. Blacksmithing is not just about forging metal; it’s about embracing challenges and learning from mistakes along the way. There were moments when things didn’t go as planned—pieces warped or didn’t turn out as expected—but each setback provided an opportunity for growth.
I also realize that blacksmithing fosters a sense of community among artisans. Sharing experiences with fellow blacksmiths has enriched my journey; we exchange tips, techniques, and encouragement that inspire us all to improve our craft. The connections formed through this shared passion remind me that blacksmithing is not just an individual pursuit but part of a larger tradition that spans generations.
The Results of Following the 5-Step Blacksmithing Plan
In conclusion, following my five-step blacksmithing plan has been an enlightening journey filled with challenges and triumphs. From gathering materials to reflecting on lessons learned, each step has contributed to my growth as a blacksmith. The satisfaction of creating something with my own hands is unparalleled; it’s a feeling that resonates deeply within me.
As I look back on my experiences, I encourage anyone interested in blacksmithing to embrace this craft wholeheartedly. With dedication and practice, anyone can learn to forge beautiful pieces of art from raw metal. The journey may be filled with obstacles, but each challenge presents an opportunity for learning and self-discovery. Blacksmithing is more than just a skill; it’s a way to connect with history, nature, and oneself—a timeless art form waiting to be explored by those willing to take up the hammer.
FAQs
What are the basic steps involved in a 5-step blacksmithing plan?
A typical 5-step blacksmithing plan includes: 1) Preparing the materials and tools, 2) Heating the metal to the appropriate temperature, 3) Shaping the metal using hammering techniques, 4) Cooling and quenching the metal to set its shape, and 5) Finishing touches such as grinding, polishing, or adding details.
What tools are essential for following a blacksmithing plan?
Essential blacksmithing tools include a forge or heat source, an anvil, various hammers, tongs for holding hot metal, chisels, and safety equipment like gloves and eye protection.
How long does it typically take to complete a project using a 5-step blacksmithing plan?
The time required varies depending on the complexity of the project and the skill level of the blacksmith, but a simple project following a 5-step plan can often be completed within a few hours to a day.
What safety precautions should be taken when blacksmithing?
Safety precautions include wearing protective gear such as gloves, safety glasses, and aprons, working in a well-ventilated area, keeping a fire extinguisher nearby, and being cautious when handling hot metal and tools.
What results can one expect after following a 5-step blacksmithing plan?
By following a structured 5-step blacksmithing plan, beginners can expect to create functional and aesthetically pleasing metal items, improve their metalworking skills, and gain a better understanding of the blacksmithing process.