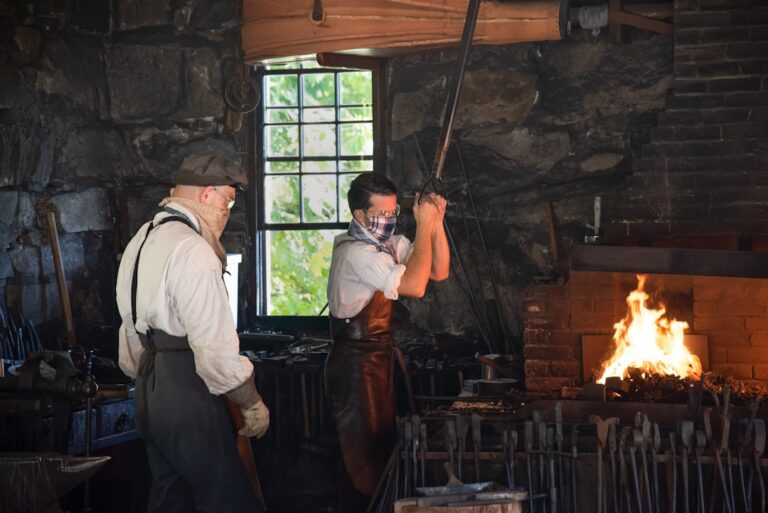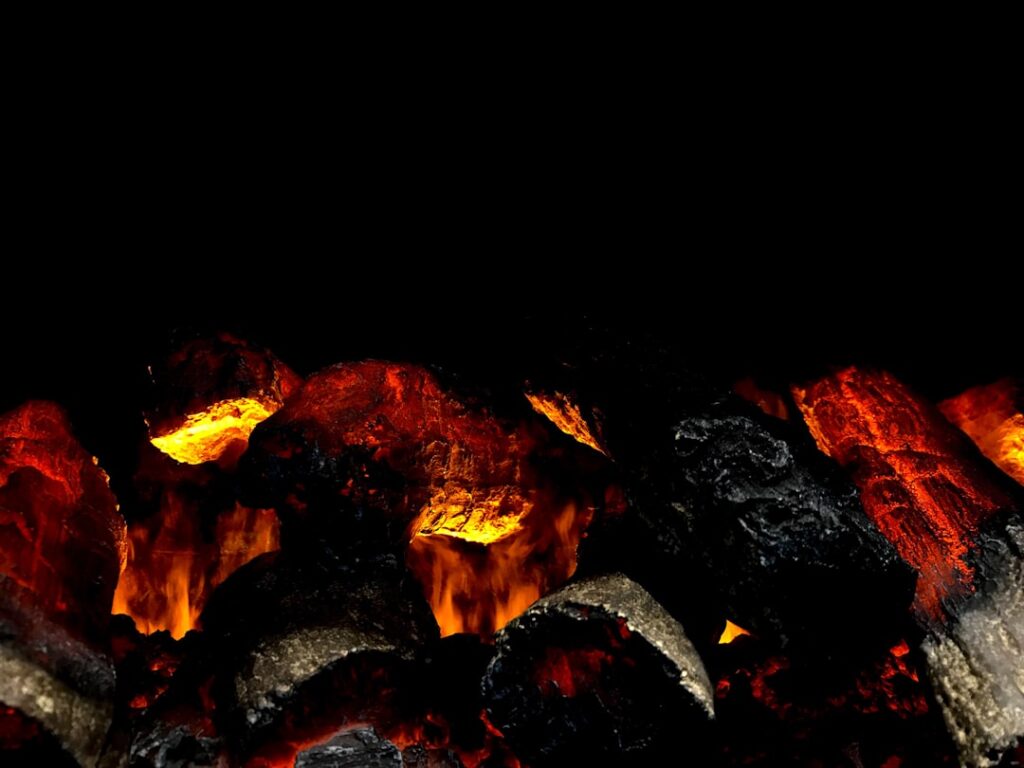
As we embark on our journey into the world of blacksmithing, it is essential to grasp the fundamental concepts that underpin this ancient craft. At its core, blacksmithing involves the manipulation of metal through heating and shaping, a practice that has been around for centuries. The forge serves as the heart of our blacksmithing endeavors, where we harness fire to transform raw materials into functional and artistic creations.
Understanding the forge’s components, such as the firepot, anvil, and tools, is crucial for us to effectively engage in this craft. The forge itself is a specialized furnace designed to reach high temperatures, allowing us to heat metal until it becomes malleable. Traditionally, forges were fueled by coal or charcoal, but modern blacksmiths often utilize propane or natural gas for convenience and efficiency.
As we familiarize ourselves with the forge’s operation, we also learn about the different types of metals we can work with, including iron, steel, and various alloys. Each metal has unique properties that influence how we heat and shape it, making our understanding of these materials vital for successful blacksmithing.
Key Takeaways
- Understanding the Basics of Blacksmith Forge
- Selecting the Right Tools and Equipment
- Safety Precautions and Best Practices
- Heating and Shaping Metal
- Creating Custom Designs and Patterns
Selecting the Right Tools and Equipment
Equipping ourselves with the right tools and equipment is a critical step in our blacksmithing journey. The tools we choose will significantly impact our ability to create quality work and enjoy the process. A well-stocked blacksmith shop typically includes an anvil, hammers, tongs, chisels, and various other hand tools.
Each tool serves a specific purpose, and understanding their functions will help us become more proficient in our craft. When selecting an anvil, we should consider factors such as weight, size, and material. A good anvil provides a solid surface for shaping metal and should be heavy enough to absorb the impact of our hammer strikes without moving.
Hammers come in various shapes and sizes, each designed for different tasks. For instance, a cross-peen hammer is excellent for drawing out metal, while a ball-peen hammer is ideal for rounding edges. Tongs are equally important; they allow us to grip hot metal safely and securely.
By investing in quality tools and learning how to use them effectively, we set ourselves up for success in our blacksmithing endeavors.
Safety Precautions and Best Practices

Safety should always be our top priority when working in a blacksmith shop.
Before we even light the forge, we must ensure that we are wearing appropriate personal protective equipment (PPE). This includes safety glasses to protect our eyes from flying sparks, gloves to shield our hands from heat and sharp edges, and sturdy footwear to protect our feet from falling objects. In addition to wearing PPE, we should also familiarize ourselves with best practices for working safely in the forge.
Keeping our workspace organized and free of clutter can help prevent accidents. We should always be aware of our surroundings and communicate clearly with anyone else in the shop. Furthermore, understanding how to properly handle hot metal is crucial; we must never attempt to touch or manipulate metal without using tongs or other tools designed for that purpose.
By adhering to these safety precautions and best practices, we can create a secure environment that allows us to focus on honing our blacksmithing skills.
Heating and Shaping Metal
| Process | Temperature Range | Common Applications |
|---|---|---|
| Forging | 1000-1250°C | Aerospace components, automotive parts |
| Rolling | 500-1300°C | Sheet metal, plates, structural shapes |
| Extrusion | 300-500°C | Aluminum and plastic products |
| Annealing | 300-700°C | Relieving internal stresses, improving machinability |
Heating metal is one of the most critical aspects of blacksmithing, as it allows us to manipulate it into the desired shape. The process begins with placing our chosen metal into the forge until it reaches a bright orange or yellow color, indicating that it is ready for shaping. We must be patient during this stage; overheating can lead to oxidation or even damage to the metal’s structure.
Once the metal is at the right temperature, we can remove it from the forge using tongs and transfer it to the anvil. Shaping metal requires a combination of technique and strength. As we strike the heated metal with our hammer, we must be mindful of our angle and force; each blow should be deliberate and controlled.
We can use various techniques such as drawing out (lengthening), upsetting (thickening), or bending to achieve different shapes. The rhythm of hammer strikes becomes almost musical as we work, allowing us to develop a sense of flow in our movements. With practice, we will learn how to read the metal’s response to our actions, enabling us to create intricate designs and functional pieces.
Creating Custom Designs and Patterns
Once we have mastered the basics of heating and shaping metal, we can begin exploring our creativity by designing custom pieces. Blacksmithing offers endless possibilities for artistic expression; from functional items like hooks and tools to decorative pieces such as sculptures or jewelry, the only limit is our imagination. To create custom designs, we should start by sketching out our ideas on paper or using digital design software.
This planning phase allows us to visualize our project and identify any potential challenges before we begin working with metal. Incorporating patterns into our designs can add depth and character to our creations. Techniques such as twisting, forging textures, or layering different metals can produce stunning visual effects.
For instance, by twisting a piece of hot metal while shaping it, we can create a spiral pattern that enhances its aesthetic appeal. Additionally, experimenting with different finishes—such as polishing or applying patinas—can further elevate our work. As we delve into custom designs and patterns, we not only enhance our skills but also develop a unique style that reflects our artistic vision.
Mastering Different Techniques and Skills

As we progress in our blacksmithing journey, mastering various techniques becomes essential for expanding our capabilities. Each technique offers unique advantages and applications that can enhance both functional and artistic aspects of our work. For example, learning how to forge weld allows us to join two pieces of metal together seamlessly, creating stronger structures or intricate designs.
This technique requires precision and practice but opens up new avenues for creativity.
These joints are crucial for assembling larger projects or creating movable parts in tools or sculptures.
Additionally, exploring advanced techniques like heat treating can improve the durability and performance of our finished pieces. By continuously challenging ourselves to learn new skills and techniques, we not only become more versatile blacksmiths but also deepen our appreciation for this timeless craft.
Troubleshooting Common Issues
Even experienced blacksmiths encounter challenges along the way; troubleshooting common issues is part of the learning process. One frequent problem is overheating or burning the metal during heating. If we notice that the metal has turned a dull gray or has developed excessive scale (oxidation), it may be too hot or has been left in the forge too long.
In such cases, we should allow it to cool slightly before attempting to shape it again. Another common issue arises during shaping when the metal does not respond as expected. If it feels too hard or brittle while hammering, it may not have been heated sufficiently or may require annealing—a process that softens hardened metal by heating it and allowing it to cool slowly.
By recognizing these issues early on and understanding how to address them effectively, we can minimize frustration and continue progressing in our blacksmithing journey.
Taking Your Craft to the Next Level
As we become more comfortable with blacksmithing fundamentals and techniques, it’s time to consider how we can elevate our craft further. One way to do this is by participating in workshops or classes led by experienced blacksmiths who can provide valuable insights and mentorship. These opportunities allow us to learn new techniques directly from experts while also connecting with fellow enthusiasts who share our passion.
Additionally, showcasing our work through exhibitions or online platforms can help us gain recognition within the blacksmithing community. Sharing our creations not only inspires others but also opens doors for collaboration and feedback that can enhance our skills further. As we continue to push ourselves creatively and technically, we will find that blacksmithing becomes not just a craft but a lifelong journey of discovery and self-expression.
In conclusion, blacksmithing is a multifaceted art form that combines skill, creativity, and tradition. By understanding the basics of forging, selecting appropriate tools, prioritizing safety, mastering techniques, troubleshooting issues, and seeking opportunities for growth, we can embark on a fulfilling journey in this ancient craft. As we continue to hone our skills and explore new possibilities within blacksmithing, we will undoubtedly find joy in creating unique pieces that reflect both our craftsmanship and artistic vision.
If you are interested in learning more about blacksmithing and the art of forging, be sure to check out the article “The History of Blacksmithing” on Far Hills Forge. This article delves into the origins of blacksmithing and how it has evolved over time. It provides valuable insights into the techniques and tools used by blacksmiths throughout history. Whether you are a seasoned blacksmith or just starting out, this article is sure to be a fascinating read.